
Photography is an art form that requires a combination of technical skill and creative vision. It can be frustrating when your images don't turn out as expected, especially if you're not sure what went wrong.
Do not worry, most photography mistakes are easily avoidable with a little knowledge and practice.
Everyone makes mistakes in the beginning, but we are here to help you avoid them. So here are the most common photography mistakes you should avoid and tips on how to overcome them.

What photography mistakes should you avoid?
There are several photography mistakes that a beginner does. This is acceptable since it is all part of the learning process.
Sometimes it is also better to look back at those mistakes once you get more experience. This way you will see your progress.
With that being said, let's start with the first mistake.

Poor Composition
Composition is the foundation of any good photograph. Poor composition can make an image appear cluttered, unbalanced, and boring.
Avoid this mistake by following several composition techniques such as the rule of thirds.
Another technique you can use is leading lines. Use natural lines or man-made lines that will draw your viewer to the subject.
However, that does not mean that you cannot break the composition rules. Once you have mastered photography composition, you can start breaking it and be more experimental.
The keyword though is to master it.
Related Post: Photography Composition Guide for Beginners | ProMediaGear

Improper Exposure
Exposure refers to the amount of light that enters your camera's sensor. Proper exposure is crucial to creating a well-exposed image.
Underexposure (too little light) can result in a dark, muddy image, while overexposure (too much light) can result in a washed-out, blown-out image.
To avoid this mistake, learn how to adjust your camera's shutter speed, aperture, and ISO settings.
Shutter speed controls the amount of time that the camera's shutter is open, while aperture controls the size of the opening that lets light in. ISO controls the sensitivity of the camera's sensor to light.
Understanding how these settings work together can help you achieve proper exposure in any lighting situation.
If you are just starting out, do not be afraid to test out different camera modes such as Aperture Priority, Shutter speed Priority, or Program Mode.
These modes will automatically set some settings to give you the right exposure.
How does it help you understand the exposure triangle?
Once you are done shooting with Aperture Priority or any of the semi-manual modes, proceed to review the images and view the metadata.
The metadata will show you the ISO, aperture, and shutter speed value of the image. From there, you can study why the camera chose a certain value. For example, it decided to go for f/3.2 aperture on a certain image.
You will then understand how the exposure triangle works this way. However, it is still better to experiment and try out different settings for your shot.

Unnecessary Camera Shake
Camera shake can ruin an otherwise sharp, well-exposed image. Camera shake occurs when the camera moves while the shutter is open, resulting in a blurry image.
To avoid this mistake, use a tripod or increase your shutter speed.
A tripod stabilizes your camera, keeping it still during long exposures or in low light situations.
If you don't have a tripod, try bracing yourself against a stable object like a wall or tree, or use your camera's self-timer to give yourself time to step away before the shot is taken.
Increasing your shutter speed reduces the amount of time the shutter is open, making it less likely that camera shake will occur.
As a general rule, use a shutter speed that is at least the same as the focal length of your lens.
For example, if you're using a 50mm lens, use a shutter speed of at least 1/50th of a second. If your focal length is 200mm, then your shutter speed should at least be 1/200th of a second.
Camera bodies and lenses sometimes have image stabilization so you can still go for a lower shutter speed and capture a sharp image.
Introducing camera shake on your images is an effective way to convey movement but, going overboard is not a good thing.

Improper White Balance
White balance refers to the color temperature of the light in a scene. Improper white balance can result in a color cast that makes the image appear too warm (yellow) or too cool (blue).
To avoid this mistake, adjust your white balance setting or use a gray card.
Most cameras have a white balance setting that can be adjusted to match the type of light in the scene.
For example, tungsten light (common in household light bulbs) has a warmer color temperature than daylight.
By adjusting the white balance setting to match the type of light, you can achieve more accurate colors in your images.
Another option is to use a gray card. A gray card is a neutral-toned card that can be used to set a custom white balance.
Simply place the gray card in the scene and take a photo of it. Then, use this photo to set your camera's white balance to accurately capture the colors in the scene.
When is it okay to use a different white balance?
Going for a different white balance than usual is acceptable if you want to convey certain emotions or if you want to add drama to your shot.
For example, if you want the viewer to feel the summer heat on your photo, you can make the white balance warmer.

Ignoring the background
The background of your image can have a big impact on the overall look and feel of the photograph.
A cluttered or distracting background can detract from your subject, while a clean and simple background can help your subject stand out.
Prevent this from happening by paying attention to the background when composing your shot.
Look for a background that complements your subject, rather than competing with it.
For example, if you're photographing a person, try to find a background that is simple and unobtrusive, like a plain wall or a natural landscape.
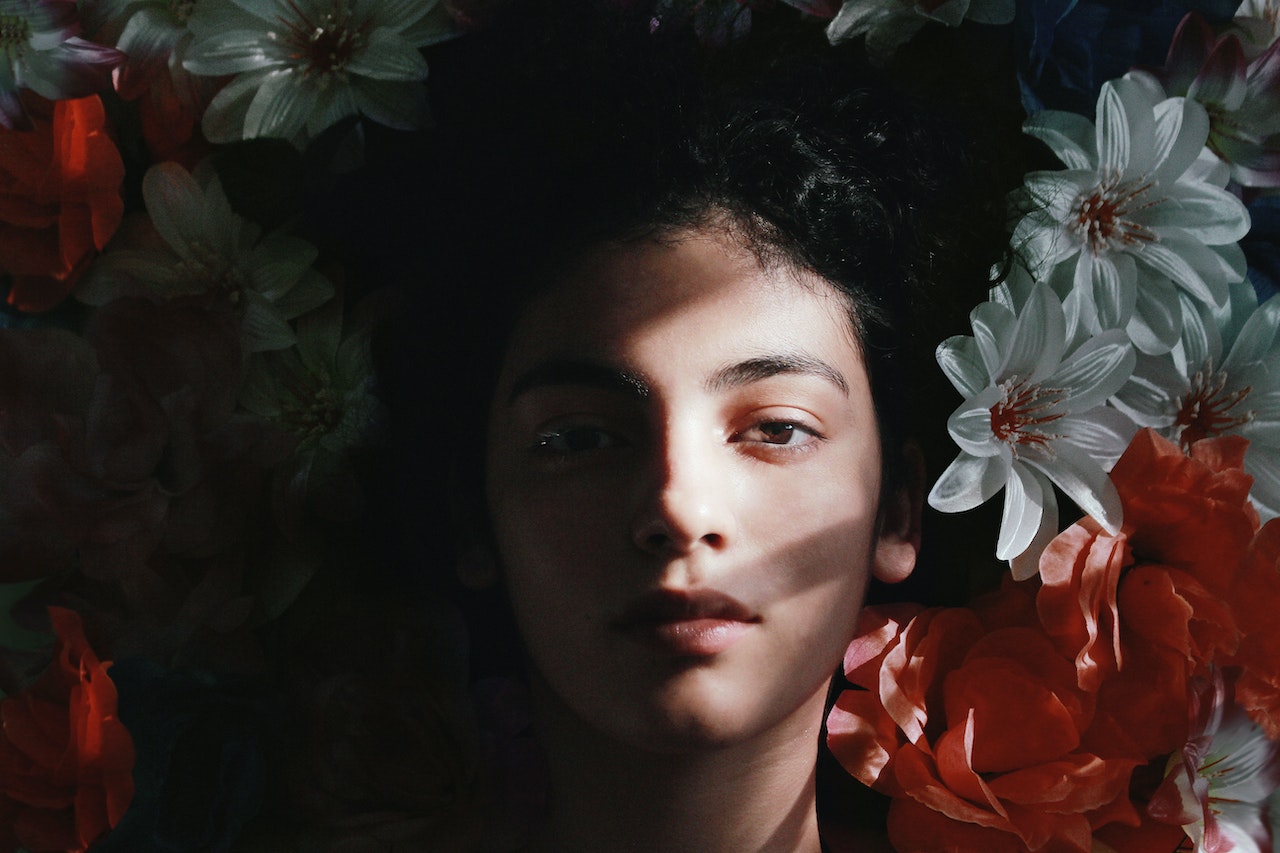
There are instances where you have your subject on the frame and then the background has two sticks protruding on top of their head.
This is not flattering to your subject. Just look at the example above. It seems like the plant is growing out of the subject's head.
Alternatively, you can use a shallow depth of field to blur the background and make your subject stand out. Not everyone has a lens that can blur the whole background though.

The Take Away
Avoid these common beginner photography mistakes to get ahead of the rest. Remember to pay attention to composition, exposure, camera shake, white balance, and background when shooting.
However, photography is also about freedom. Do not limit yourself to the standards set by many. Be free to experiment and find your own style.
Get out there and start shooting!