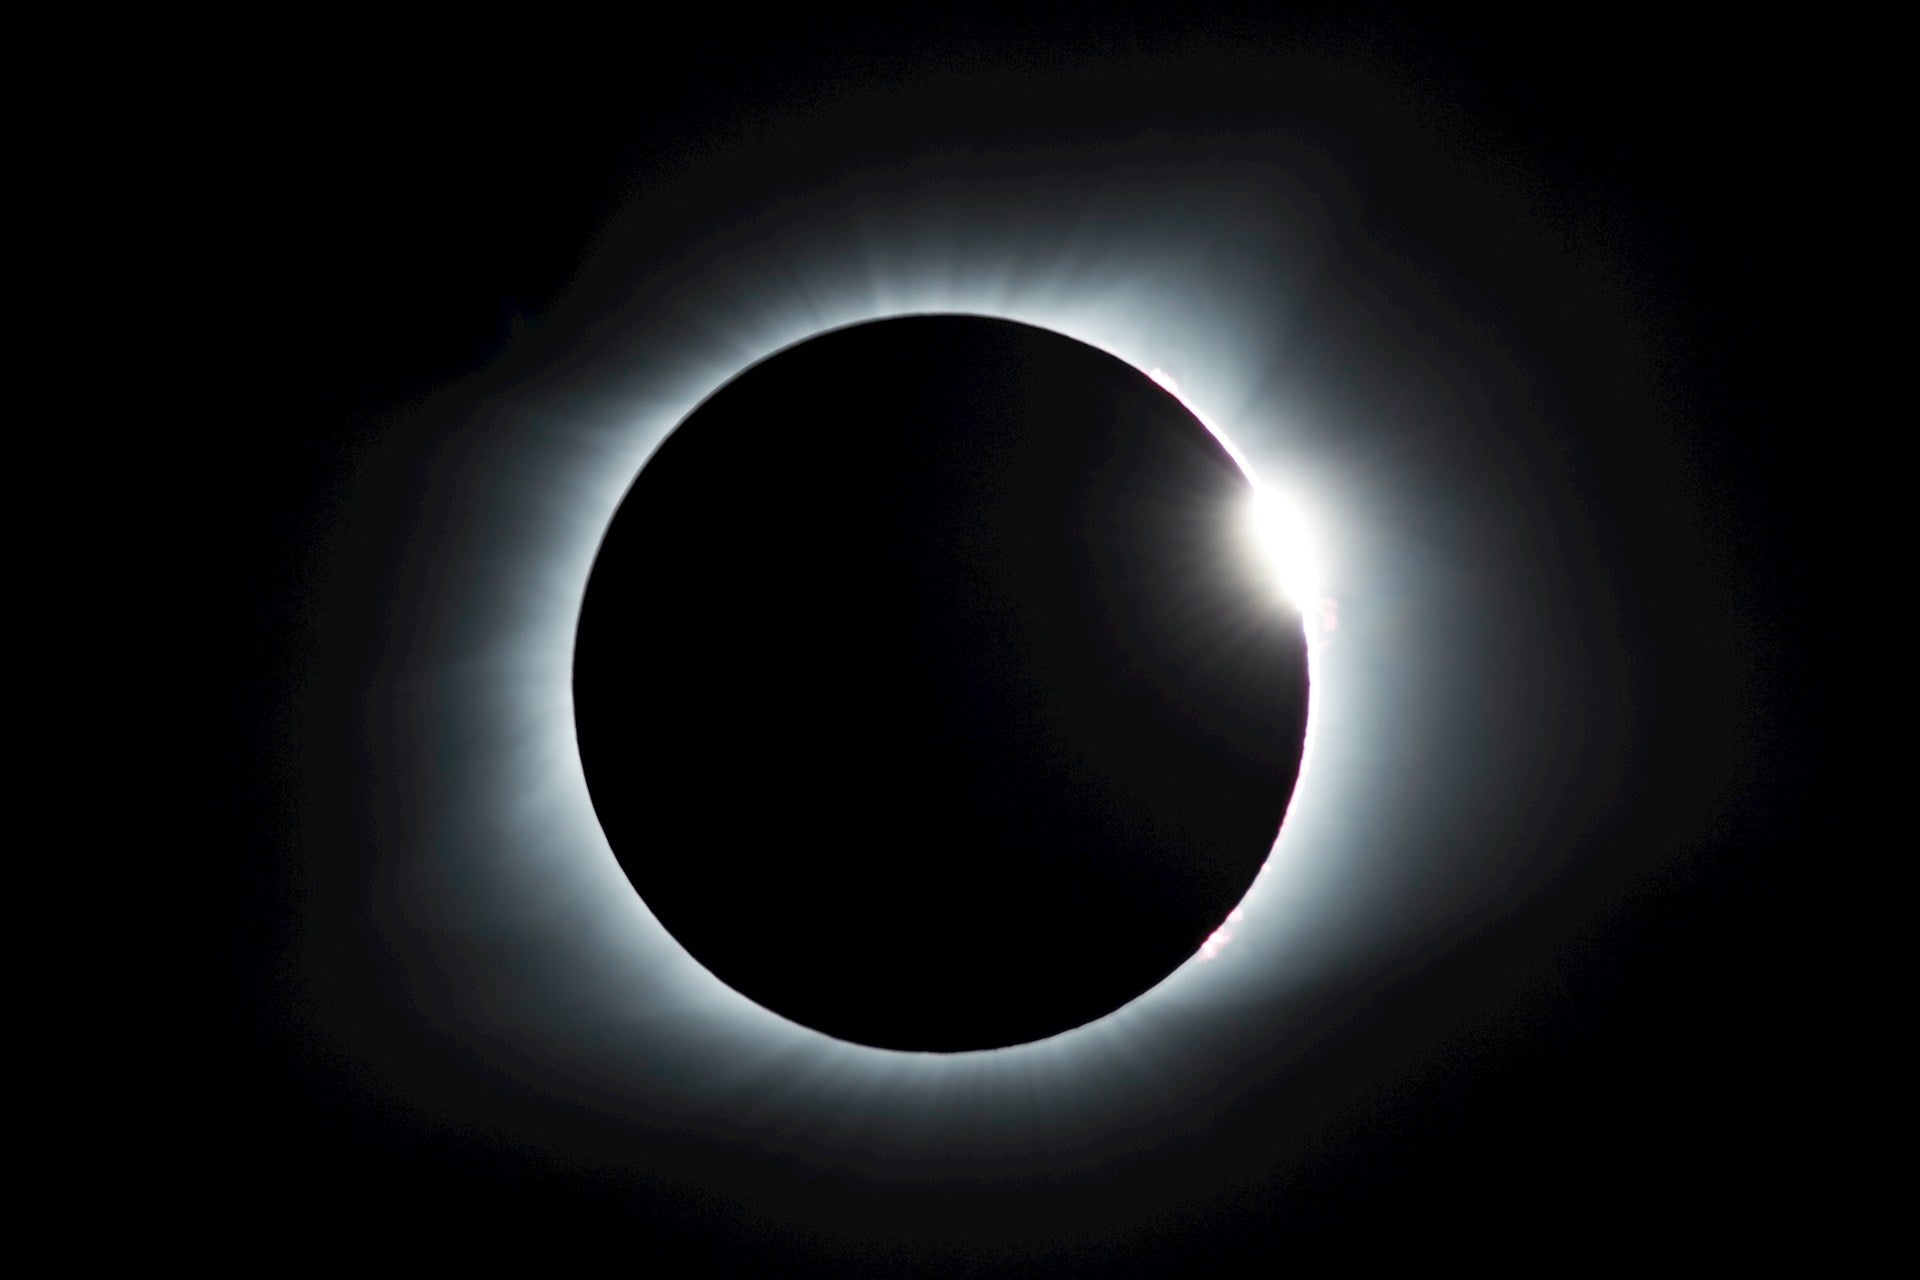
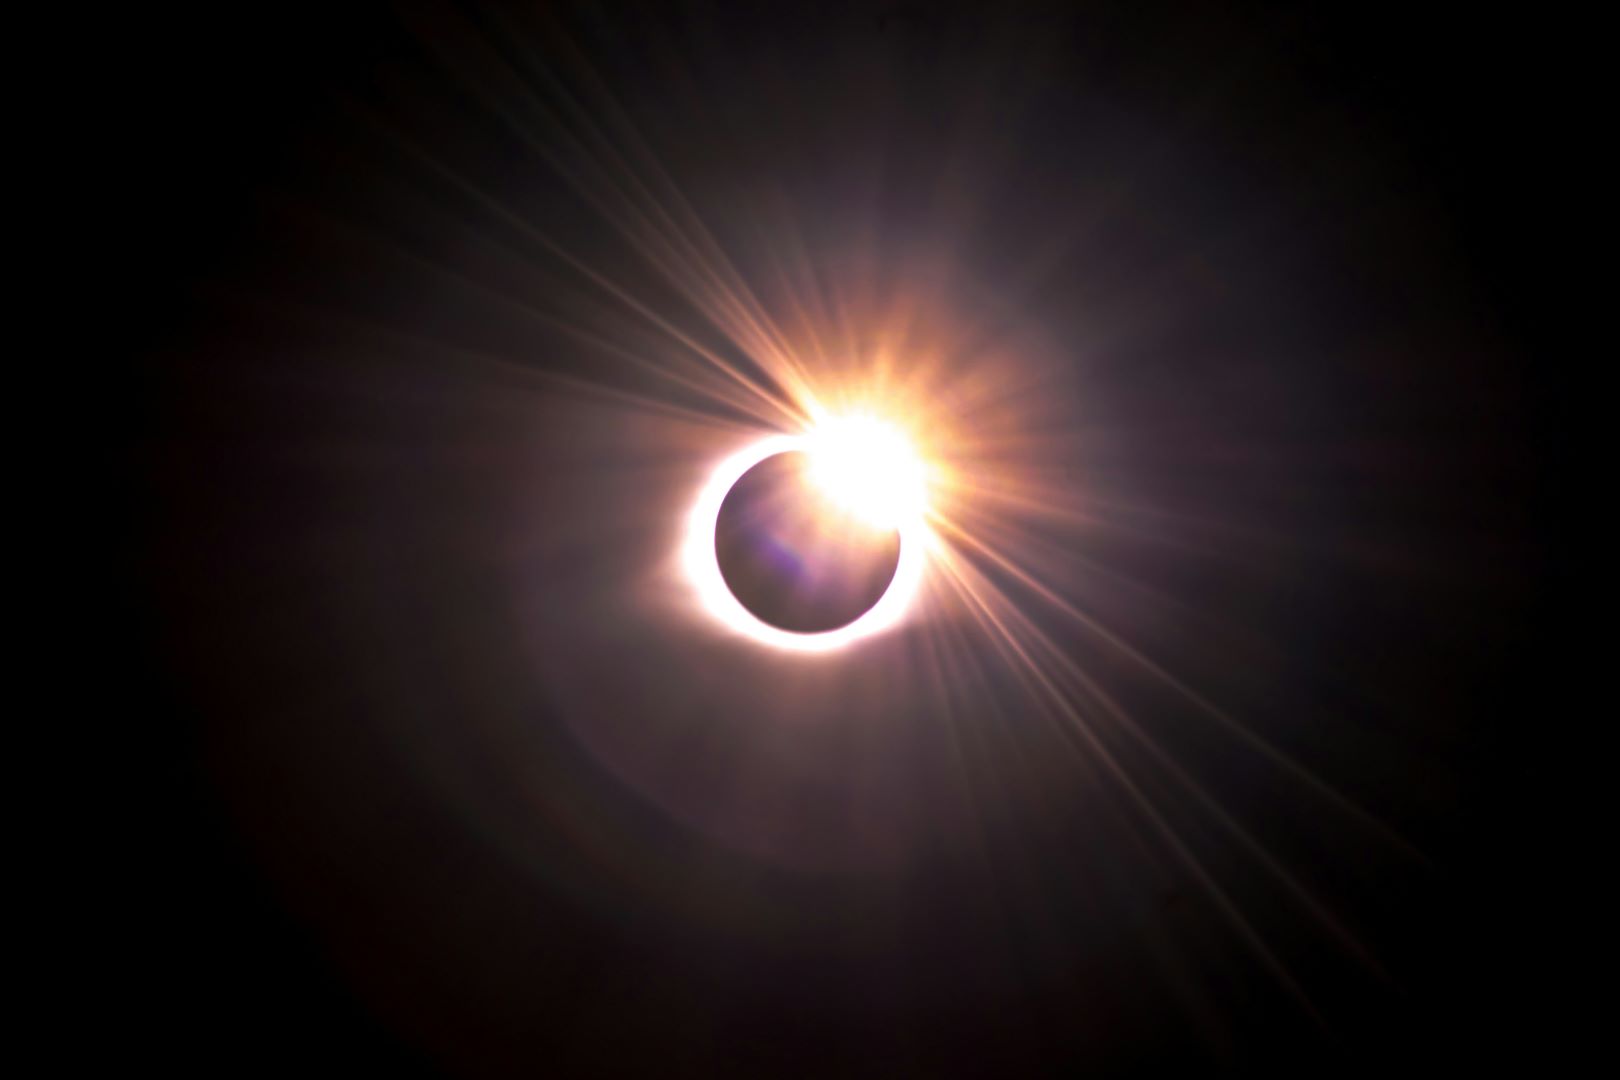
Solar Eclipses are undeniably alluring and worth shooting. It is a magnificent phenomenon that happens rarely and shooting a solar eclipse is a must-have for photographers.
Photographing solar eclipses can be done by beginners and professionals. However, it requires meticulous planning and specialized equipment to make the most out of it.
Now, we are here to get you started on your first solar eclipse shoot.

Photography Equipment For Solar Eclipse
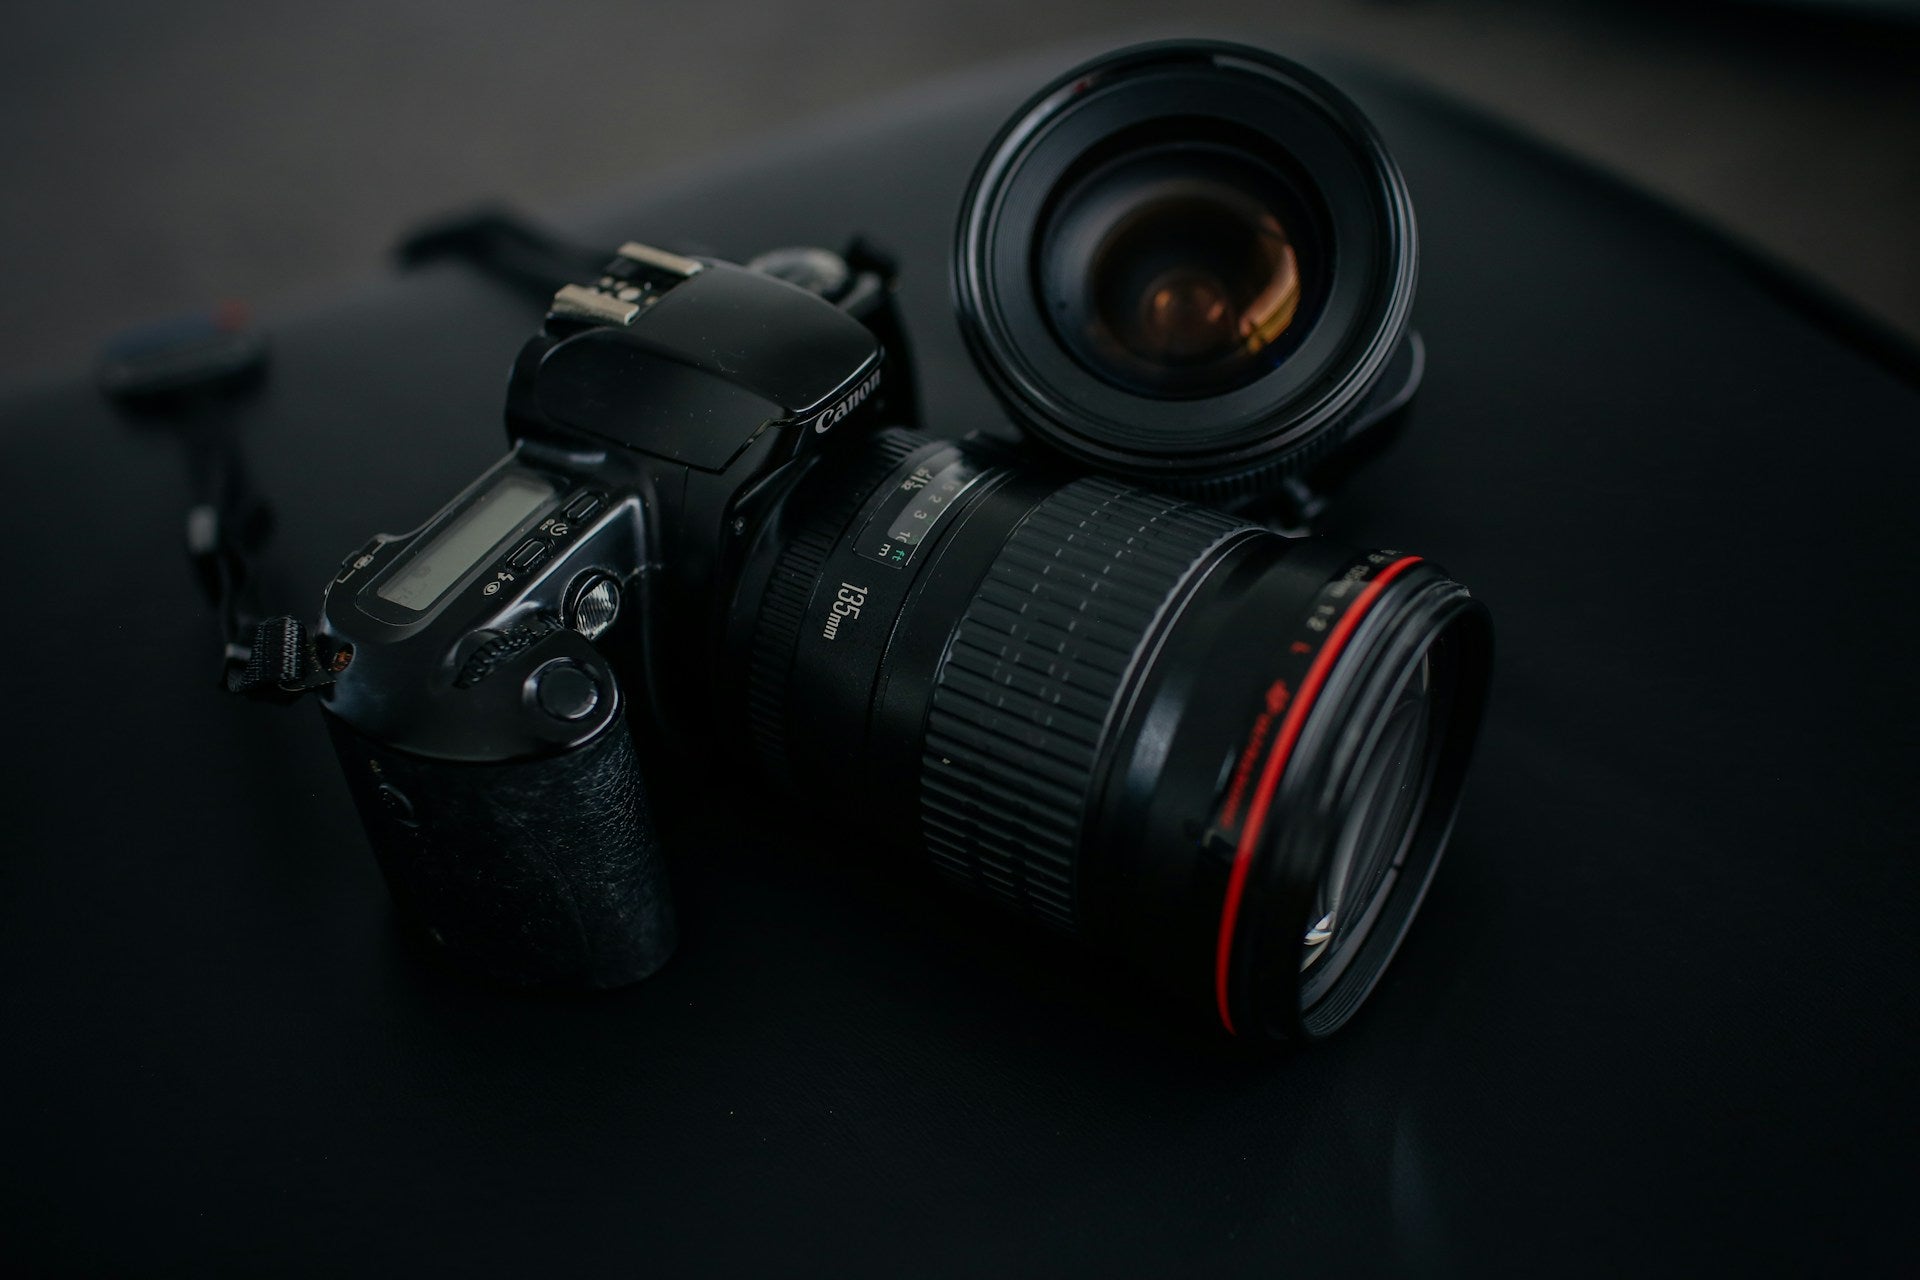
Invest in high-quality gear to ensure successful eclipse photography. Start with a sturdy tripod such as the ProMediaGear TR424L.
Why is it necessary to use a sturdy tripod?
Using one provides stability while composing your shot. It also secures your camera from heavy wind or other mishaps.
Moreover, pair your tripod with a steady ball head with precise adjustments such as the ProMediaGear BH1.
Safety first: Do not burn your eyes trying to shoot the solar eclipse
Protect your eyes and camera gear as you take a photo of the solar eclipse.
Never look directly at the sun without proper protection. There are certified solar viewing glasses available to protect your eyes.
Of course, do not forget about your camera. There are solar lens filters available to prevent damage to your sensor. These filters are similar to ND filters but at a more extreme extent.
Prioritize safety to enjoy the eclipse while safeguarding your vison and equipment.
Scout the Perfect Location
Visualize the shot you want to take and look for a location with unobstructed views of the sky and minimal light pollution. Elevated places are great as it enhances the eclipse's effect against the horizon.
However, do not limit your self. There are many ways to shoot a solar eclipse.
Just make sure that you plan ahead and practice your composition. Better yet, visit the place before the eclipse and do some test shots. It also gives you a feel of the area and allows you to be more familiar with your environment.

Timing and Preparation
Timing is crucial when photographing a solar eclipse. Research the eclipse's duration and schedule your shoot accordingly.
Make sure that you account for the various phases leading up to the totality.
There are several reliable sources to track the eclipse's path. Use these tools to anticipate the changes in lighting and atmospheric conditions.
What could go wrong, will go wrong is what the saying says. Prepare and you are on the right track to nailing your shot.
All About Patience and Adaptability
Shooting a solar eclipse requires a lot of patience and adaptability. Be prepared to wait for the perfect moment and adjust accordingly.
The eclipse isn't static so make sure that you adapt your composition and settings as the moment progresses.
Observe what is happening and pay attention to your surroundings. Always be ready to capture each phase with precision.
Enhance your images through editing
The process of photographing a solar eclipse does not stop when you push the camera's shutter. You still need to post-process your image to make the most out of it.
Use editing software to enhance and fine tune your image. Take your time to sharpen the details and adjust colors to achieve your desired look.
Experiment with different techniques to elevate your image and showcase the beauty of a solar eclipse.
What are the best camera settings for a solar eclipse?
Understanding the best camera settings is essential to capturing excellent images of a solar eclipse.
Here are some tips and camera settings that might come in handy on your next shoot.
Exposure Settings
- Start with a low ISO setting (typically between 100-200) to minimize noise in your images.
- Set your aperture to a mid-range value (around f/8 to f/11) to achieve a balance between depth of field and sharpness.
- Adjust your shutter speed based on the brightness of the eclipse. During partial phases, use faster shutter speeds to prevent overexposure. For totality, you can decrease the shutter speed to capture more detail in the corona.
Focus and Metering
- Use manual focus to ensure sharpness, as autofocus may struggle to lock onto the sun.
- Employ spot metering mode to accurately measure the light falling on the sun, allowing for precise exposure adjustments.
Use Bracketing Modes
- Consider using exposure bracketing to capture a range of exposures, especially during totality when light conditions change rapidly. This technique ensures you have multiple exposures to choose from during post-processing.
Shoot in RAW Format
- Opt for shooting in RAW format to retain maximum flexibility during post-processing. RAW files contain more data and allow for greater adjustments to exposure, contrast, and color temperature without compromising image quality.
Final Thoughts: How To Shoot A Solar Eclipse?
Photographing a solar eclipse is a rewarding challenge that demands preparation, patience, and precision.
By mastering the art of eclipse photography and embracing the unique opportunities it presents, you can capture stunning images that resonate with viewers for years to come.
With the right equipment, techniques, and mindset, you're poised to embark on a journey of celestial exploration and artistic expression.
That's it! You are all set in capturing your first solar eclipse image. If you're a beginner, we hope that these tips help you on your journey.
For seasoned photographers, why not share your tips in our comment section. We'd love to hear from you.

